
When we create applications, a lot of time will be spent just creating authentication features. If you add more login feature such as OAuth, SAML, etc it will add more effort and cost. Auth0, Okta, OneLogin, AWS Cognito, or other similar services are quick solutions to this problem. But if you are paranoid about privacy, you will definitely prefer to use on-prem services.
Currently, several authentication application options are available for free, some of them are Open Source. Keycloack, FusionAuth, Gluu, and Ory are some examples. From my experience trying those products, they have complete documentation but the installation and deployment process not as easy as snapping a finger.
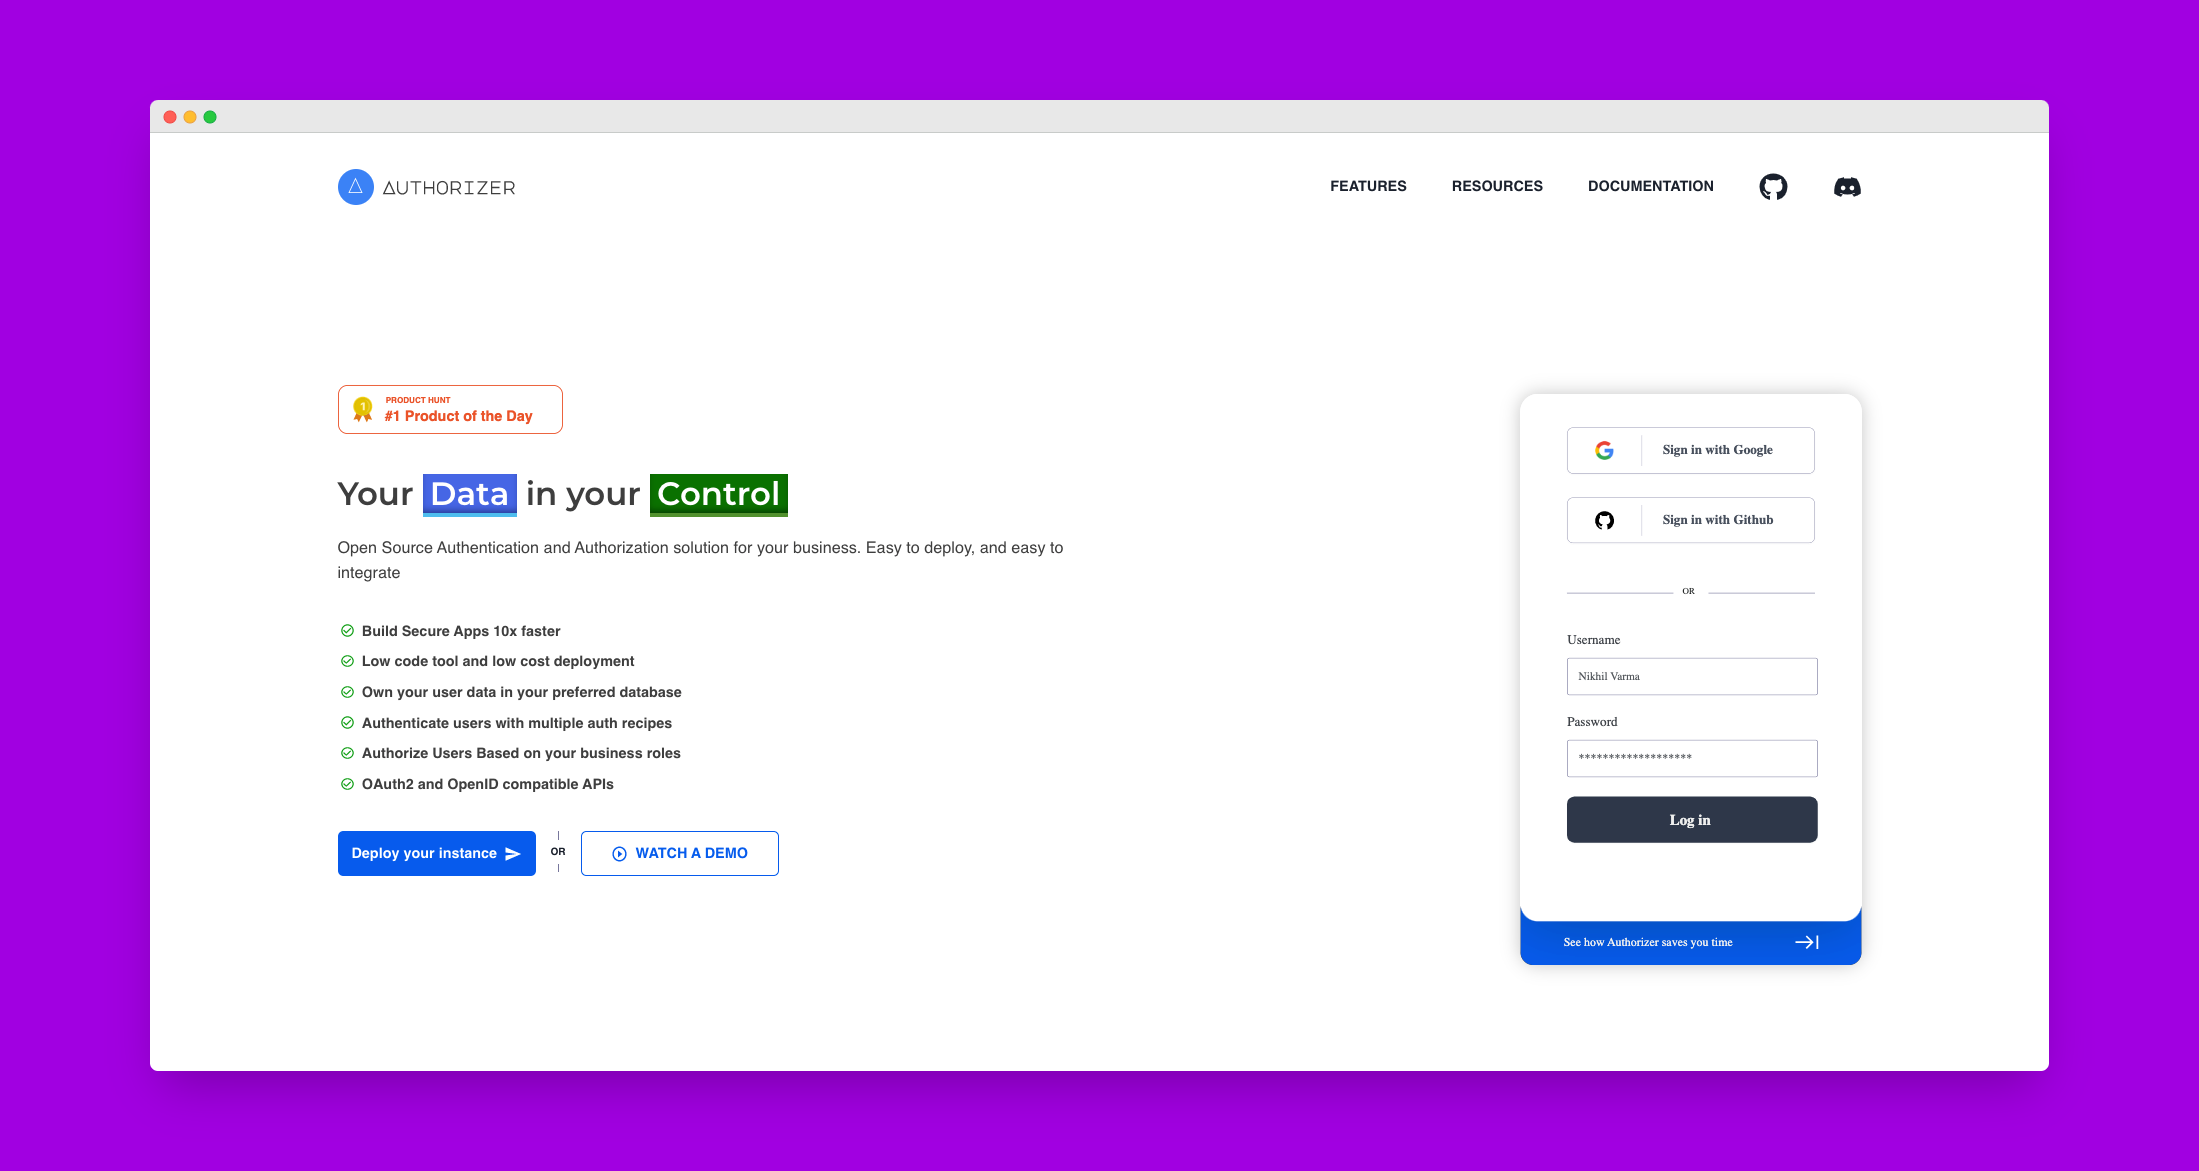
A couple of weeks ago, when I was browsing Product Hunt there was a new product named Authorizer. Then I was curious to try this one. The official documentation provides instructions to install or deploy Authorizer at various services like Heroku, Render, and Railway. I want to try to deploy it to Fly.io, unfortunately, I can't find the documentation, and I still have not found a tutorial about this. So, I do a little experiment, and here's the result.
For more information about Authorizer visit https://authorizer.dev For more information about Fly.io visit https://fly.io/docs
Prerequisites
- A PC or laptop (absolutely)
- Your favorite Terminal
- A cup of coffee or your favorite drink
- A Fly.io account
I'm using macOS, you'll need to adapt some commands to the OS you're using.
Step 1 : Installing Fly.io CLI
macOS
brew install flyctl
Linux
curl -L https://fly.io/install.sh | sh
Windows
iwr https://fly.io/install.ps1 -useb | iex
Step 2 : Login to Fly.io
Make sure you already have a Fly.io account.
flyctl auth login
Step 3 : Create Fly.io app for Authorizer
Create a directory for the workspace and move to your created directory.
flyctl launch --org personal --name authorizer --region lax --no-deploy
Note: in this sample I created an app named authorizer at lax region and personal organization. For more information about Fly.io regions read this documentation.
Step 4 : Configure the fly.toml file
You will find a new file fly.toml. This file is the deploy configuration file for Fly.io.
Add this part to fly.toml file:
[build]
image = "lakhansamani/authorizer:latest"

[experimental]
private_network = true
cmd = ["./build/server", "--database_type=postgres"]
allowed_public_ports = []
auto_rollback = true

[env]
  PORT = "8080"
  FLY_REGION = "sin"
Then change internal_port to 8080 inside the [[services]] section just like this:
[[services]]
  internal_port = 8080
  processes = ["app"]
  protocol = "tcp"
  script_checks = []
The complete fly.toml file will become like this:
app = "authorizer"
kill_signal = "SIGINT"
kill_timeout = 5
processes = []

[build]
image = "lakhansamani/authorizer:latest"

[experimental]
private_network = true
cmd = ["./build/server", "--database_type=postgres"]
auto_rollback = true

[env]
  PORT = "8080"
  FLY_REGION = "sin"

[[services]]
  internal_port = 8080
  processes = ["app"]
  protocol = "tcp"
  script_checks = []

  [services.concurrency]
    type = "connections"
    hard_limit = 25
    soft_limit = 20

  [[services.ports]]
    force_https = true
    handlers = ["http"]
    port = 80

  [[services.ports]]
    handlers = ["tls", "http"]
    port = 443

  [[services.tcp_checks]]
    grace_period = "1s"
    interval = "15s"
    restart_limit = 0
    timeout = "2s"
Step 5 : Prepare the database
We will use Postgres for the database. Run this command to create a Postgres instance at Fly.io:
flyctl postgres create \
  --organization personal \
  --name authorizer-db \
  --initial-cluster-size 1 \
  --password $(openssl rand -hex 8) \
  --region lax \
  --vm-size shared-cpu-1x \
  --volume-size 3
To connecting the Postgres database, we need to attach by using this command:
flyctl postgres attach --postgres-app authorizer-db
This command will add an environment variable DATABASE_URL. You don't need to remove or change the variable name because this variable name is same with the required Authorizer envar.
Step 6 : Deploy
Before we deploy the app, we need to change some configuration. Luckily Authorizer makes this easy by using envar. Then, we need to generate a random string for ADMIN_SECRET. This secret is used for authentication to the admin console.
You can use openssl, for example:
openssl rand -base64 500 | tr -dc 'a-zA-Z0-9' | fold -w 32 | head -n 1
Add some environment variables to our Fly.io app:
flyctl secrets set \
    ENV="production" \
    ADMIN_SECRET=CHANGE_THIS_BY_WHATEVER_YOU_WANT \
    DATABASE_TYPE="postgres" \
    SENDER_EMAIL=CHANGE_THIS \
    SMTP_HOST=CHANGE_THIS \
    SMTP_PASSWORD=CHANGE_THIS \
    SMTP_PORT=587 \
    SMTP_USERNAME=CHANGE_THIS \
    ORGANIZATION_NAME="Feelantera" \
    URL="https://authorizer.fly.dev"
Find out more about Environment Variables here.
Finally, deploy the app by execute this command:
flyctl deploy
After the deployment process has been finish, check the application logs:
flyctl logs
Remember: every time you make a change to the envars, Fly.io will redeploy your app.
Congratulation, you have an authentication service for your application! Open https://authorizer.fly.dev and use ADMIN_SECRET for the authentication password.